
I was recently asked by @bleujay to share how I create my Star photo animated GIFs with the Steemit community. So here is the quick and dirty way to get the Job done using the open source program Gimp.
Start of by downloading Gimp for your operating system
https://www.gimp.org/

Install gimp and setup a folder with the photos from your time-lapse

Open the first photo from the time-lapse series in gimp
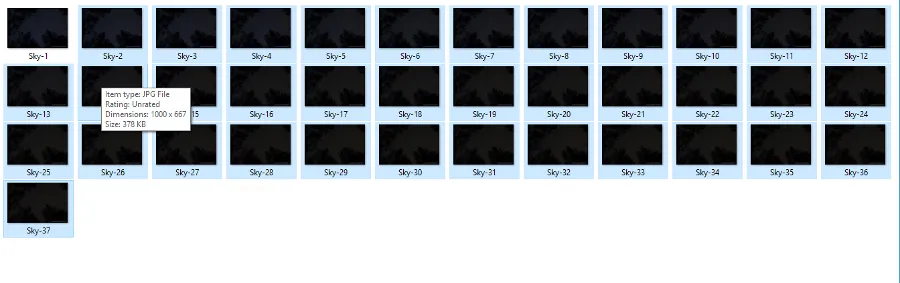
Go to the time-lapse folder and select the rest of the files for the animation

Drag or paste the rest of the photos into the Layers-Brushes bar after the first photo in the series.
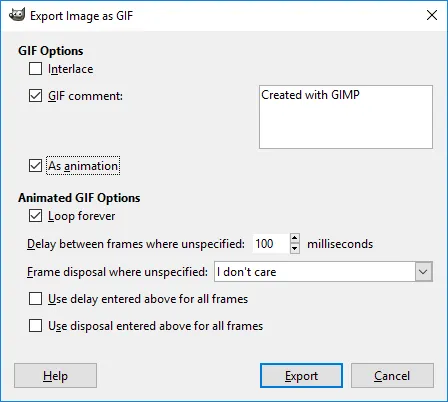
You are now ready to export the files as an animation, select export as option under the file menu and choose .gif as the file format. Make sure to check the as animation box along with the loop forever option. Give the file a name with the .gif extension and click export and gimp will process the group of photos relatively quickly depending on your processor speed.
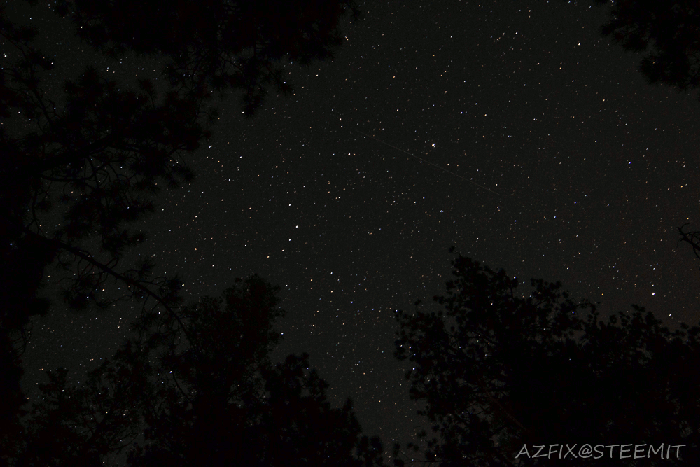
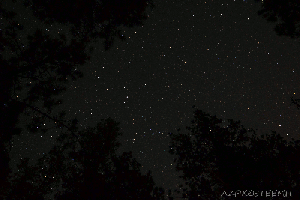
You should end up with something like the above animated .gif
You can also open the .gif file in Gimp and choose the image option on the file menu and select scale image if you want to make the file and photo smaller.
I hope this helps and if you have any questions or comments please feel free to ask